
Step 1
Open the EPF setup page
After activating the plugin, open EPF from the WordPress admin sidebar. This setup area is where you connect the site, manage Studio flows, assign categories, and configure storefront buttons.
Documentation
TrynShop Prescription Form Builder helps eyewear merchants collect lens choices, prescription details, uploads, and add-on selections through a guided customer flow.
Prescription Form Builder is a configurable flow builder for optical products. Instead of showing one long form, it breaks the prescription journey into clear steps such as lens usage, lens package, prescription method, prescription upload, PD, prism, coatings, upgrades, and review.
Each flow can include conditional steps, priced options, product/category assignment, and a review screen before the customer continues to cart or order.
Use it anywhere a customer needs to choose prescription lenses or provide Rx details before checkout. Common use cases include prescription eyeglasses, sunglasses with Rx lenses, computer glasses, reading glasses, contact lens orders, and lens replacement flows.
Add prescription flows to Shopify product pages and sync priced add-ons.
Use the WordPress plugin to render guided flows for WooCommerce products.
Embed the flow renderer with your catalog and order processing workflow.
Install the Prescription Form Builder integration for your ecommerce platform, then connect it to TrynShop Studio to create and assign prescription flows.
After installation, the EPF menu appears in WordPress. Follow these steps to connect the shop, prepare flows, assign categories, and configure the storefront buttons.
Step 1
After activating the plugin, open EPF from the WordPress admin sidebar. This setup area is where you connect the site, manage Studio flows, assign categories, and configure storefront buttons.
Step 2
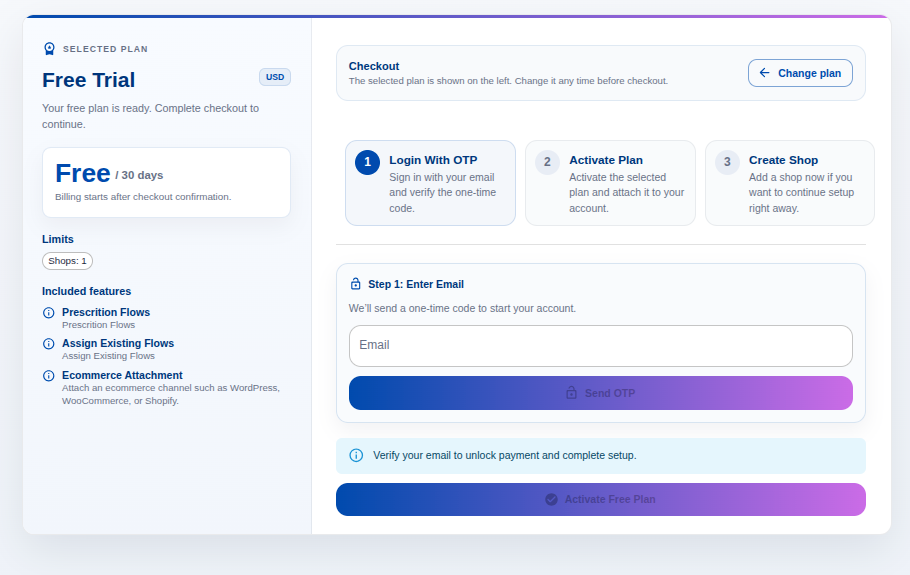
Start onboarding from the Connect tab. Sign in with your email, create or select the shop, and link the WooCommerce site to TrynShop Studio.
Step 3
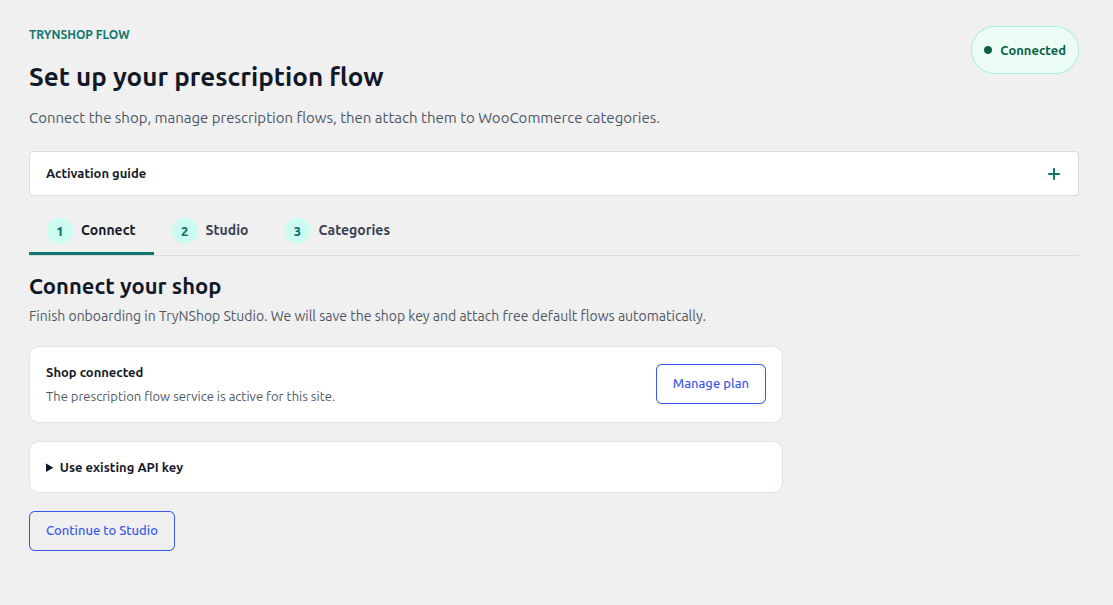
When the shop is linked, the plugin shows the connected state. From here you can continue to Studio or manage the plan from TrynShop.
Step 4
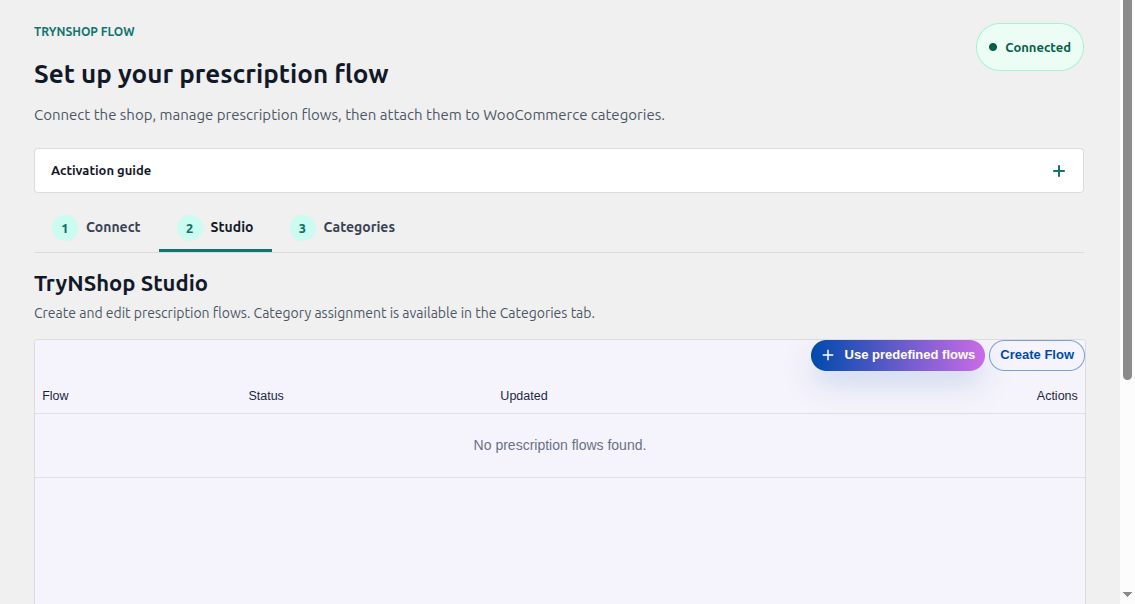
Use the embedded Studio page to create prescription flows, edit steps and options, or use predefined flows that are available for the shop.
Step 5
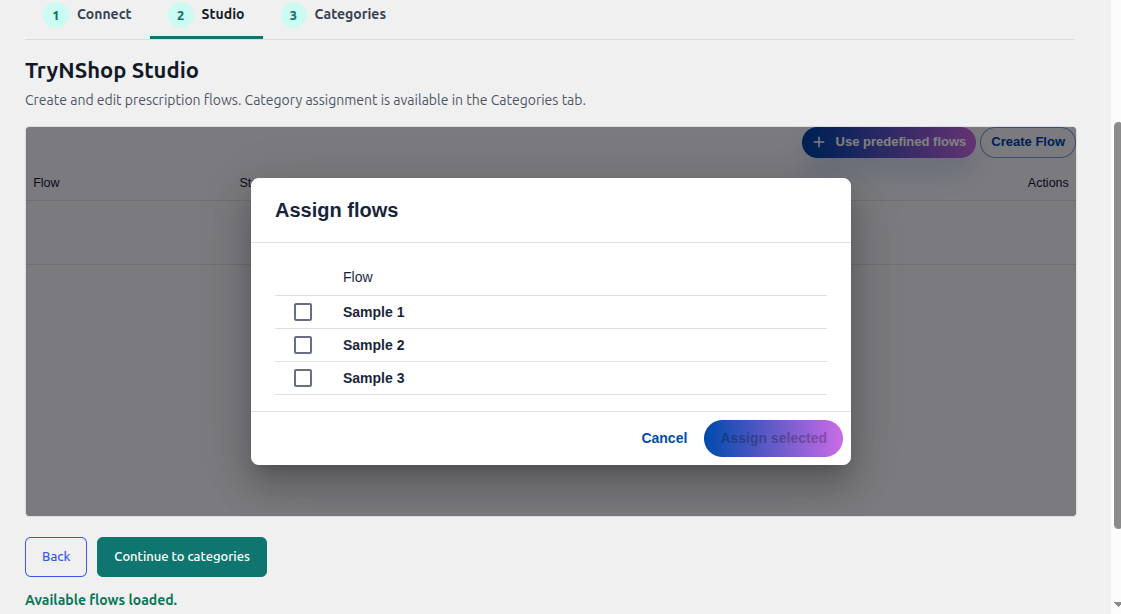
Select ready-to-use global flows when you want to start quickly. Assigned flows are copied into the shop so they can be edited for that store.
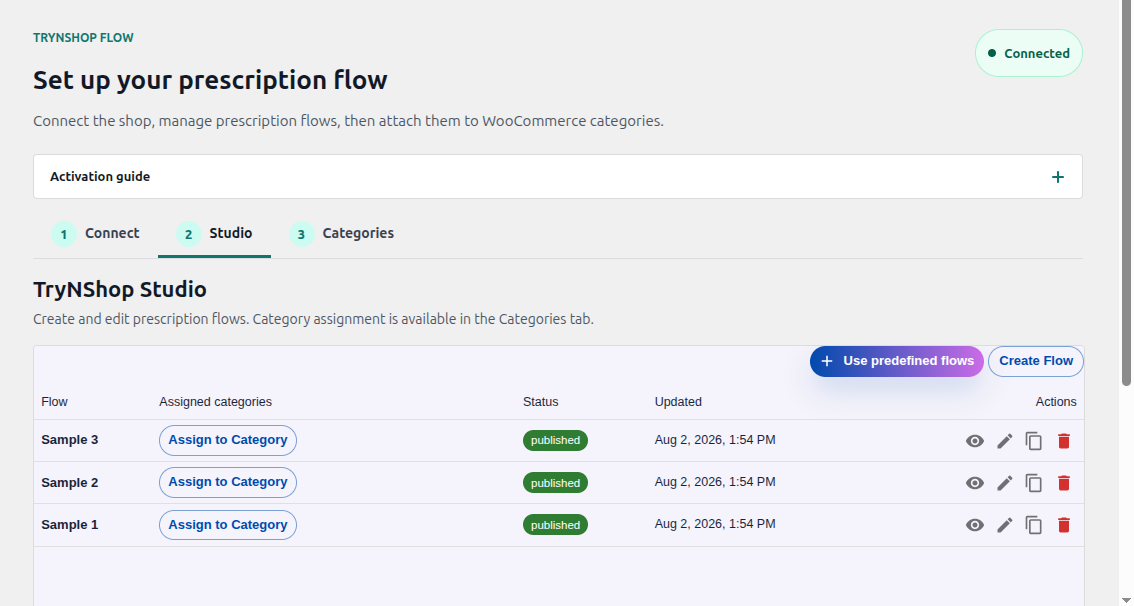
Step 6
Customize the flow journey, option order, labels, prices, prescription upload steps, and customer review step before publishing.
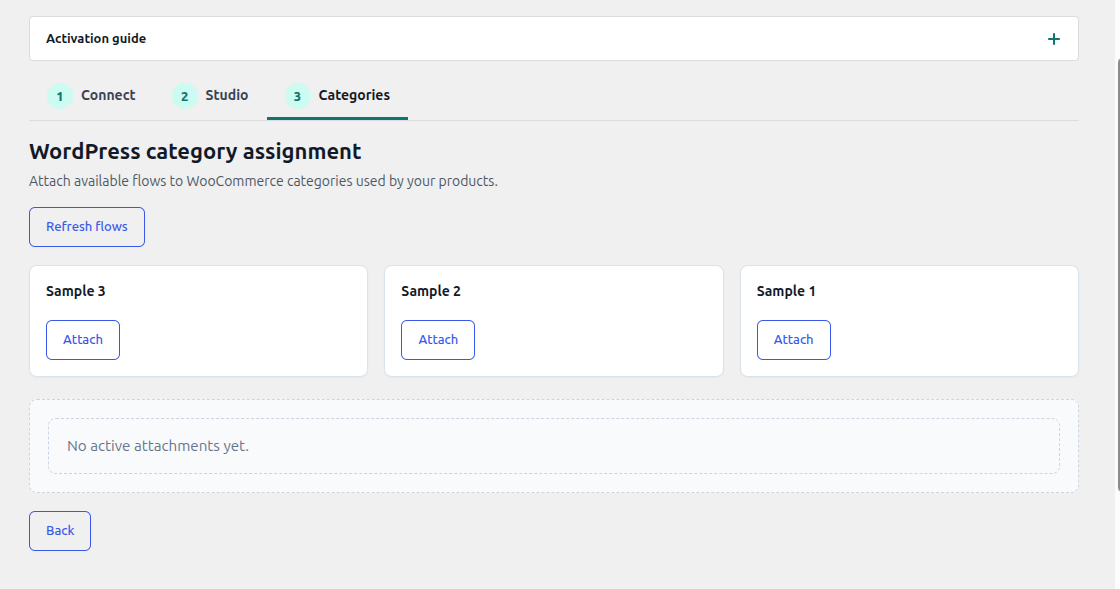
Step 7
Open the Categories tab, choose a flow, then select the WooCommerce product categories where the prescription button should appear.
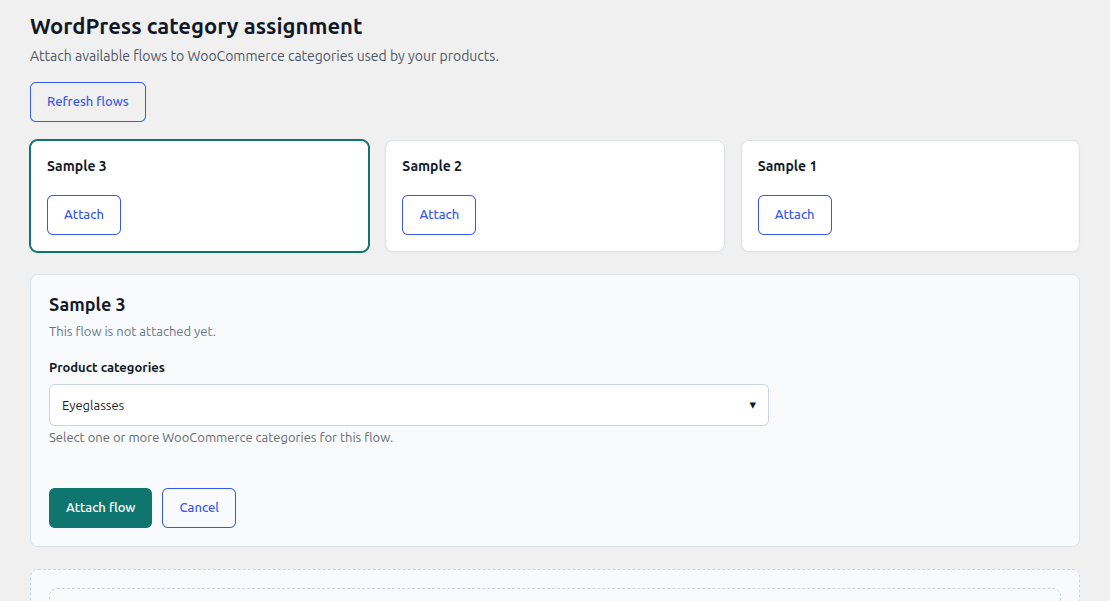
Step 8
A category can belong to only one active prescription flow at a time. Already-used categories are disabled when attaching another flow.
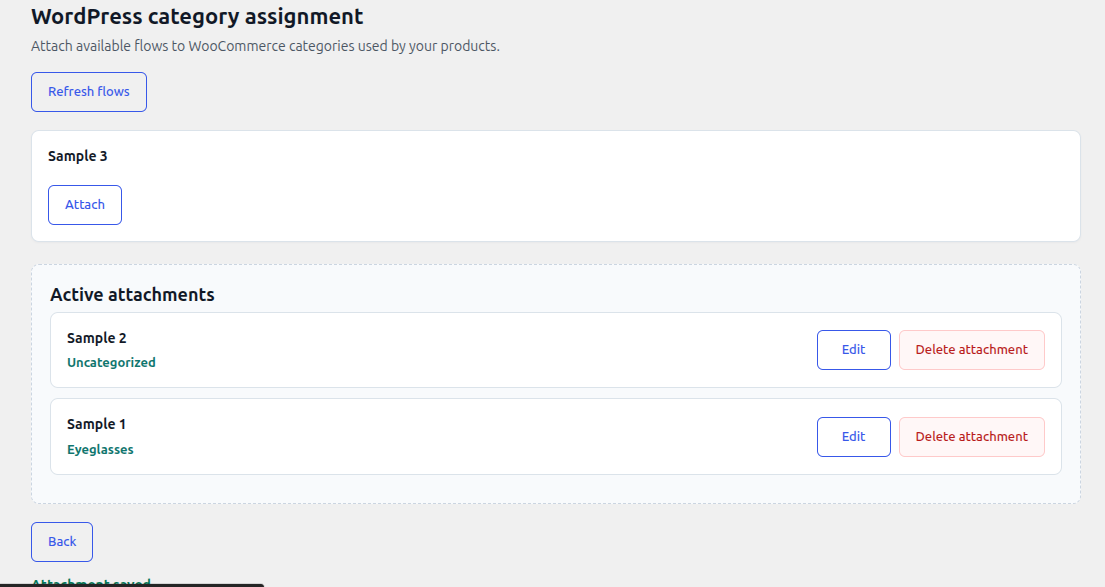
Step 9
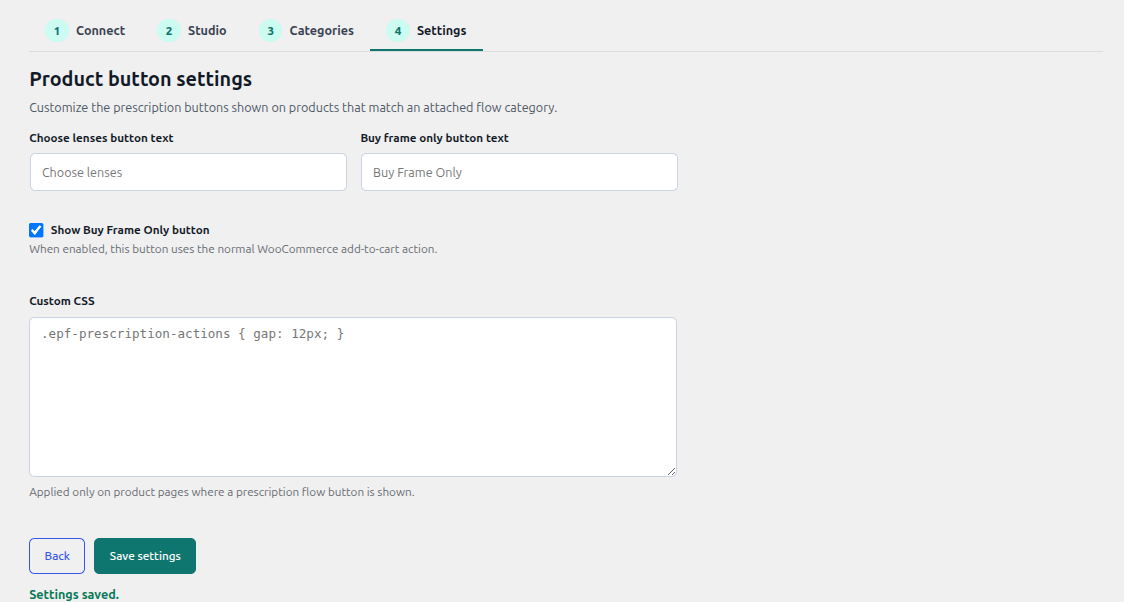
Use Settings to customize the Choose Lenses button, enable Buy Frame Only, edit its label, and add page-specific custom CSS.
Step 10
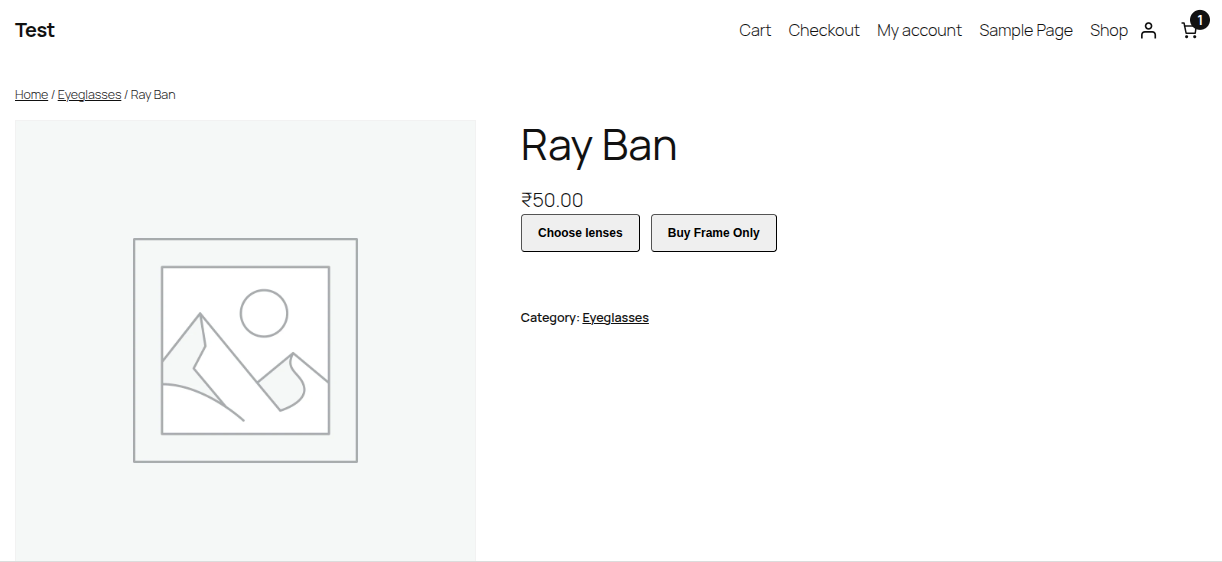
On matching WooCommerce products, customers see the configured prescription button. If enabled, Buy Frame Only lets them add the frame without lenses.
Step 11
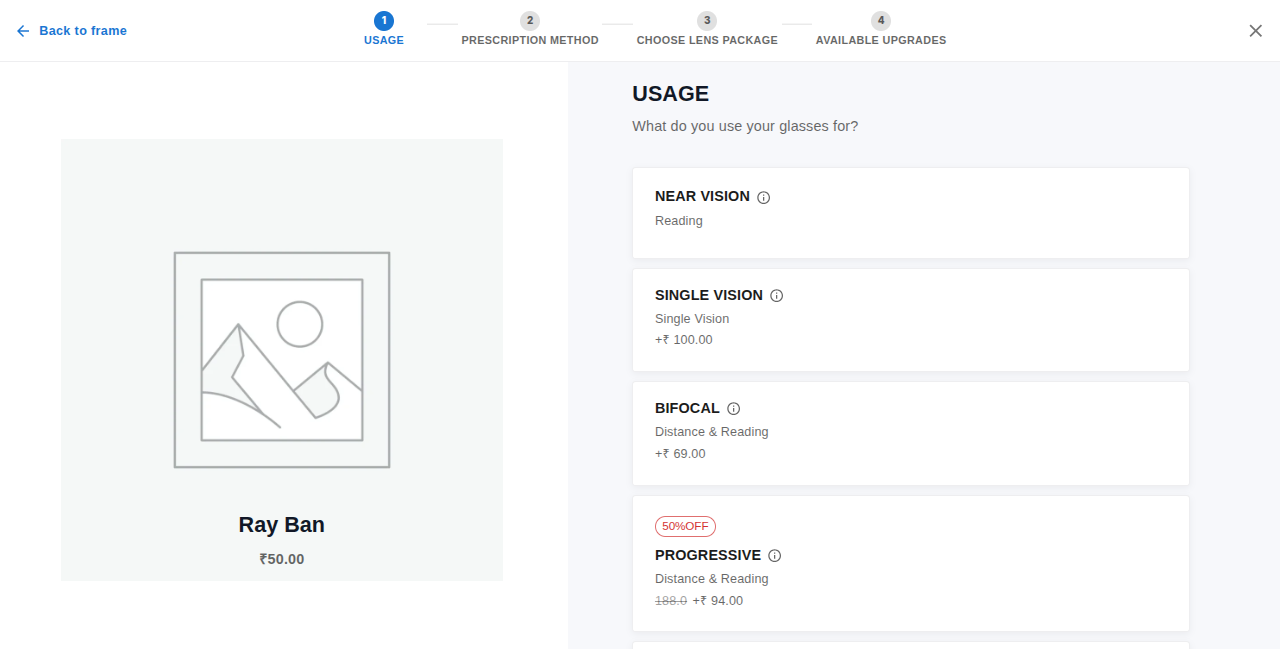
Customers move through the guided prescription flow, review their selections, and continue to cart with clean prescription data attached to the order.
Use TrynShop Studio to refine the flow for your catalog: add or reorder steps, configure priced options, enable uploads, and assign each flow to the correct WooCommerce categories or Shopify collections.